Spotting mould in your home can be alarming—especially in Melbourne’s damp corners. You might wonder, can you just paint over mould? Unfortunately, it’s not that simple. Painting over mould only hides the problem temporarily and can lead to health hazards and paint failure. In this guide, Chumz Painting explains why you can’t skip proper mould removal, how to fix the underlying issue, and which paint solutions work best in our climate. You’ll discover a step-by-step process that protects your walls—and your wellbeing—for the long term.
Why You Should Never Paint Over Mould
Mould Comes Back—and It’s Worse
Painting over mould traps it beneath the surface. It continues growing and spreading, causing paint to peel, bubble, or discolor—and potentially damaging walls long-term.
Health Risks Are Real
Mould can trigger allergies, respiratory symptoms, and asthma attacks. Covering with paint doesn’t make spores go away—it could worsen indoor air quality over time.
Step 1: Identify and Assess the Problem
Common Mould Spots in Melbourne Homes
- Bathrooms with poor extraction
- Laundry rooms with damp clothes
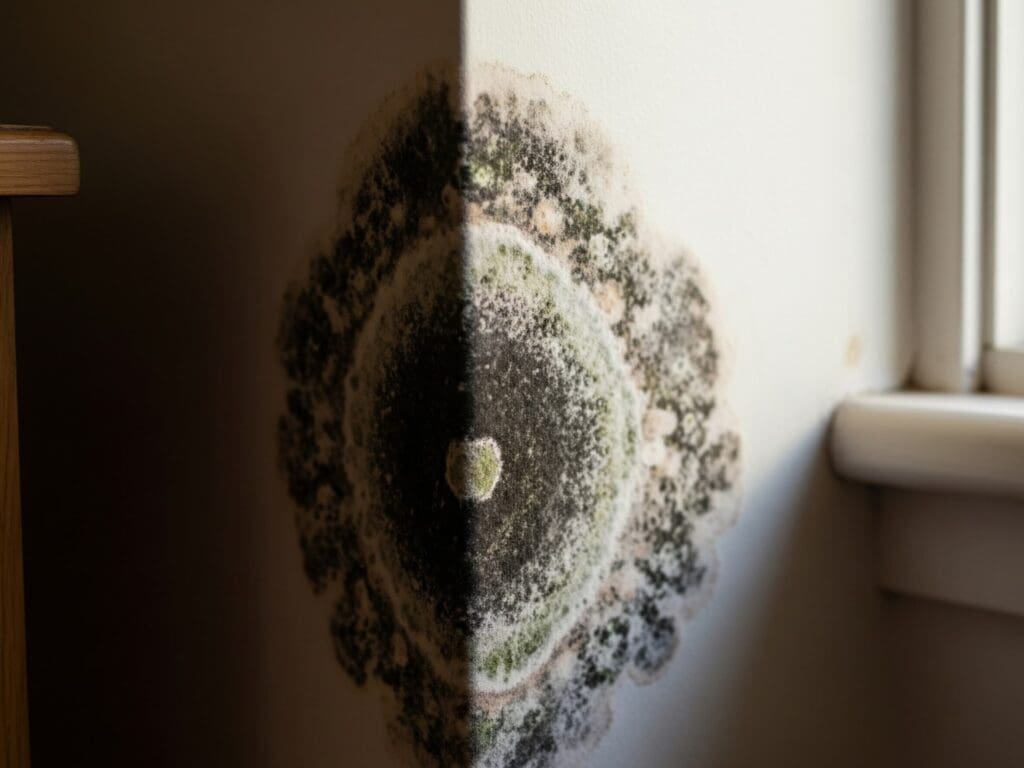
- South-facing walls and window reveals
- Leaking plumbing or gutters
Check these areas after rain or damp weather to detect any moisture residue.
Long-tail Keyword: how to treat mould before painting melbourne
Searches for how to treat mould before painting Melbourne reflect homeowner intent to address mould properly—this guide provides safe, local advice.
Step 2: Remove Mould Safely
Best Cleaning Methods
- Wear gloves, mask, and goggles for protection.
- Use a mild cleaning solution—water plus white vinegar or a commercial mould cleaner.
- Scrub with a soft brush until the stain disappears.
- Rinse and dry completely.
Avoid bleach—it masks mould but doesn’t fully eliminate spores on porous surfaces like plaster or timber.
Step 3: Fix the Root Cause
Moisture Control Is Essential
- Install or repair exhaust fans in bathrooms and laundries
- Check for water leaks and seal gaps around windows or plumbing
- Improve airflow by using dehumidifiers, opening windows or installing air vents
Without moisture control, mould will return even after cleaning and painting.
Step 4: Prep and Prime for Good Coverage
Painting Prep Steps
- Sand or wash cleaned spots for a smooth base
- Treat with antifungal primer to block stains and mould regrowth
- Spot-prime bare patches before applying full paint coats
Primer Makes the Finish Durable
An antifungal primer ensures the paint sticks well and stays clean—especially in damp-prone zones.
Step 5: Choose the Right Paint and Finish
Low-VOC Mould-Resistant Paint
Select products labelled for mildew resistance and low emissions. They’re ideal for bathrooms, laundries, and other moisture-prone areas.
Finish Types That Work Best
- Eggshell or satin for interior walls: wipe-clean and durable
- Semi-gloss for trims and bathroom surfaces: highly washable and resistant
Step 6: Apply Paint Correctly
Application Tips
- Ensure primer is fully dry before top-coating.
- Apply two light coats for even colour and durability.
- Keep good ventilation during painting and curing.
- Allow full drying before usage—24 hours minimum for walls; longer for high-moisture rooms.
Step 7: Ongoing Maintenance
Prevent Mould from Coming Back
- Keep extract fans on during showers or laundry loads
- Wipe walls and trims regularly
- Re-seal around wet zones such as basins or splashbacks
- Repaint or re-prime every few years to stay ahead of issues
FAQ: Painting Over Mould in Melbourne
Conclusion
So, can you paint over mould? Not until you properly remove it, fix the moisture, and prep the surface. Skipping these steps leads to peeling paint, mildew returns, and possible health issues. A careful process—clean, dry, prime with antifungal sealant, then paint—protects your home and ensures a lasting finish.
If you’d like help diagnosing damp issues, choosing the right products, or booking a professional team to refresh your walls, Chumz Painting is ready when you are. Reach out on your time—your home, your health, your choice.